What is the NSPanel EU?
The SONOFF NSPanel EU is a smart wall panel with a 3.5-inch touchscreen that fits into a standard switch cutout. It features 2 independent Wi-Fi relays, a thermometer and the ability to display a custom dashboard.
With stock firmware it works via the Ewelink cloud. With ESPHome it becomes fully autonomous and integrates directly with Home Assistant — no cloud, no subscription.
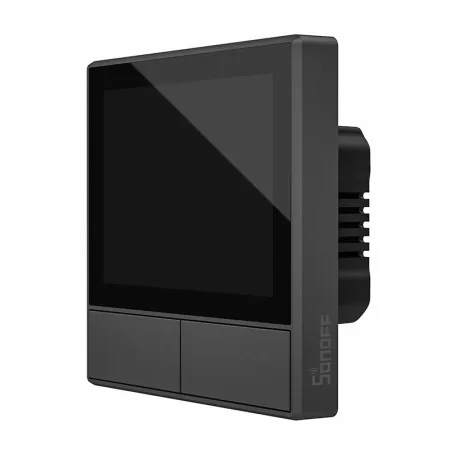
Important: Flashing with ESPHome requires opening the device and connecting UART cables. If you're not comfortable doing this, contact us for professional installation.
What you need
- SONOFF NSPanel EU
- USB-to-UART adapter (e.g. CH340 or CP2102)
- ESPHome Dashboard (via Home Assistant add-on)
- A few jumper wires
Flashing with ESPHome
Open the NSPanel by removing the 4 screws from the back. Locate the UART pins (TX, RX, GND, 3.3V) on the PCB. Connect the UART adapter and enter flash mode by holding the boot button while applying power.
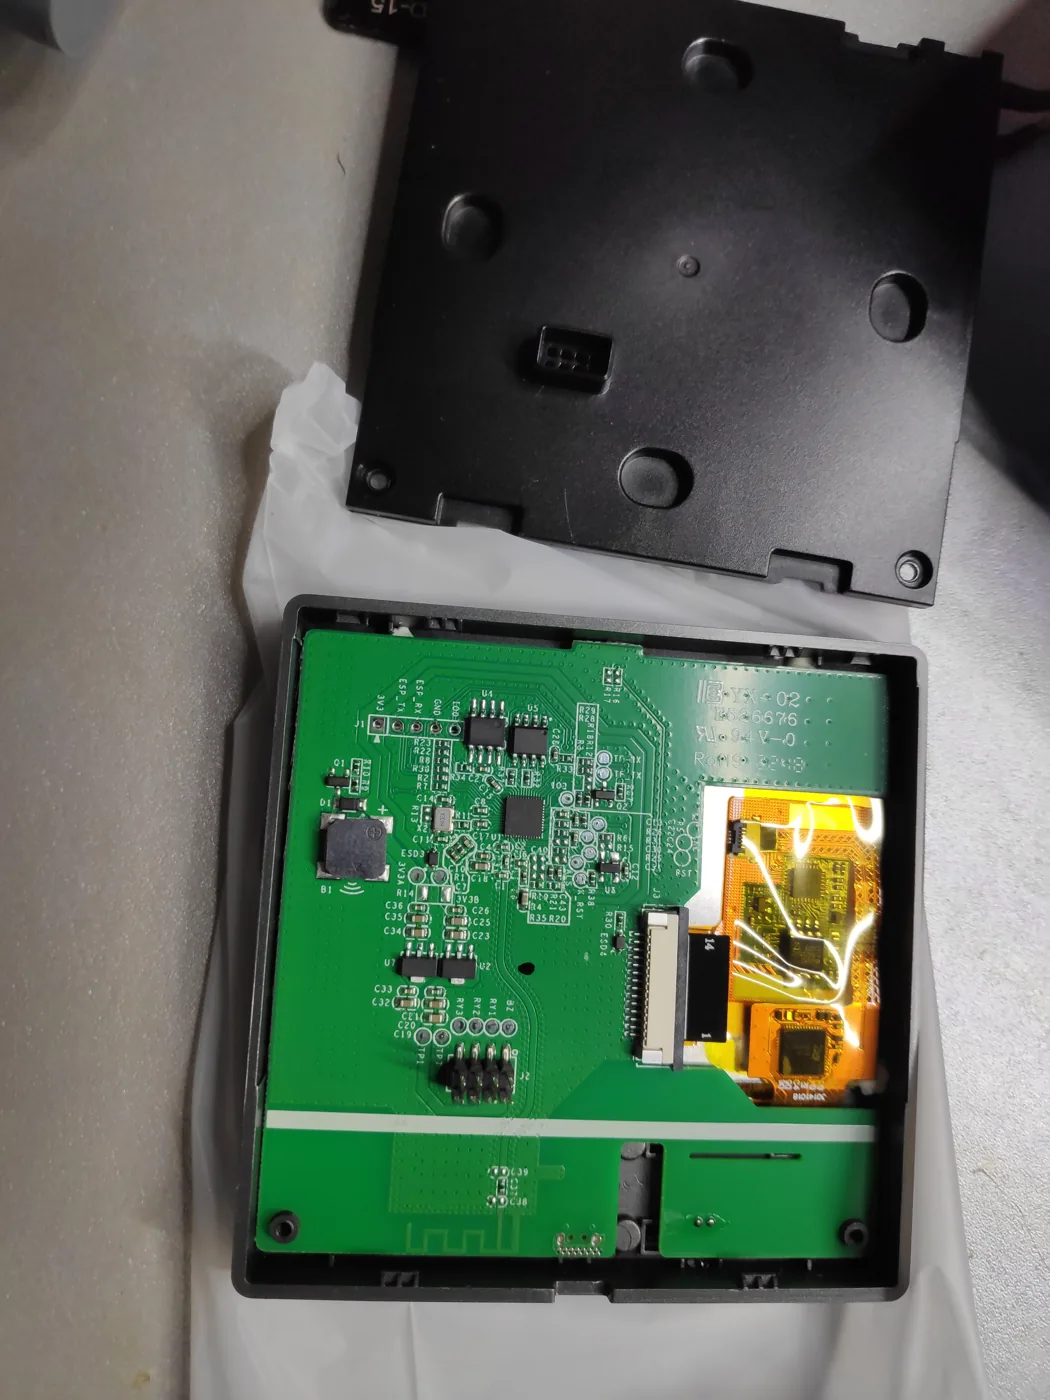
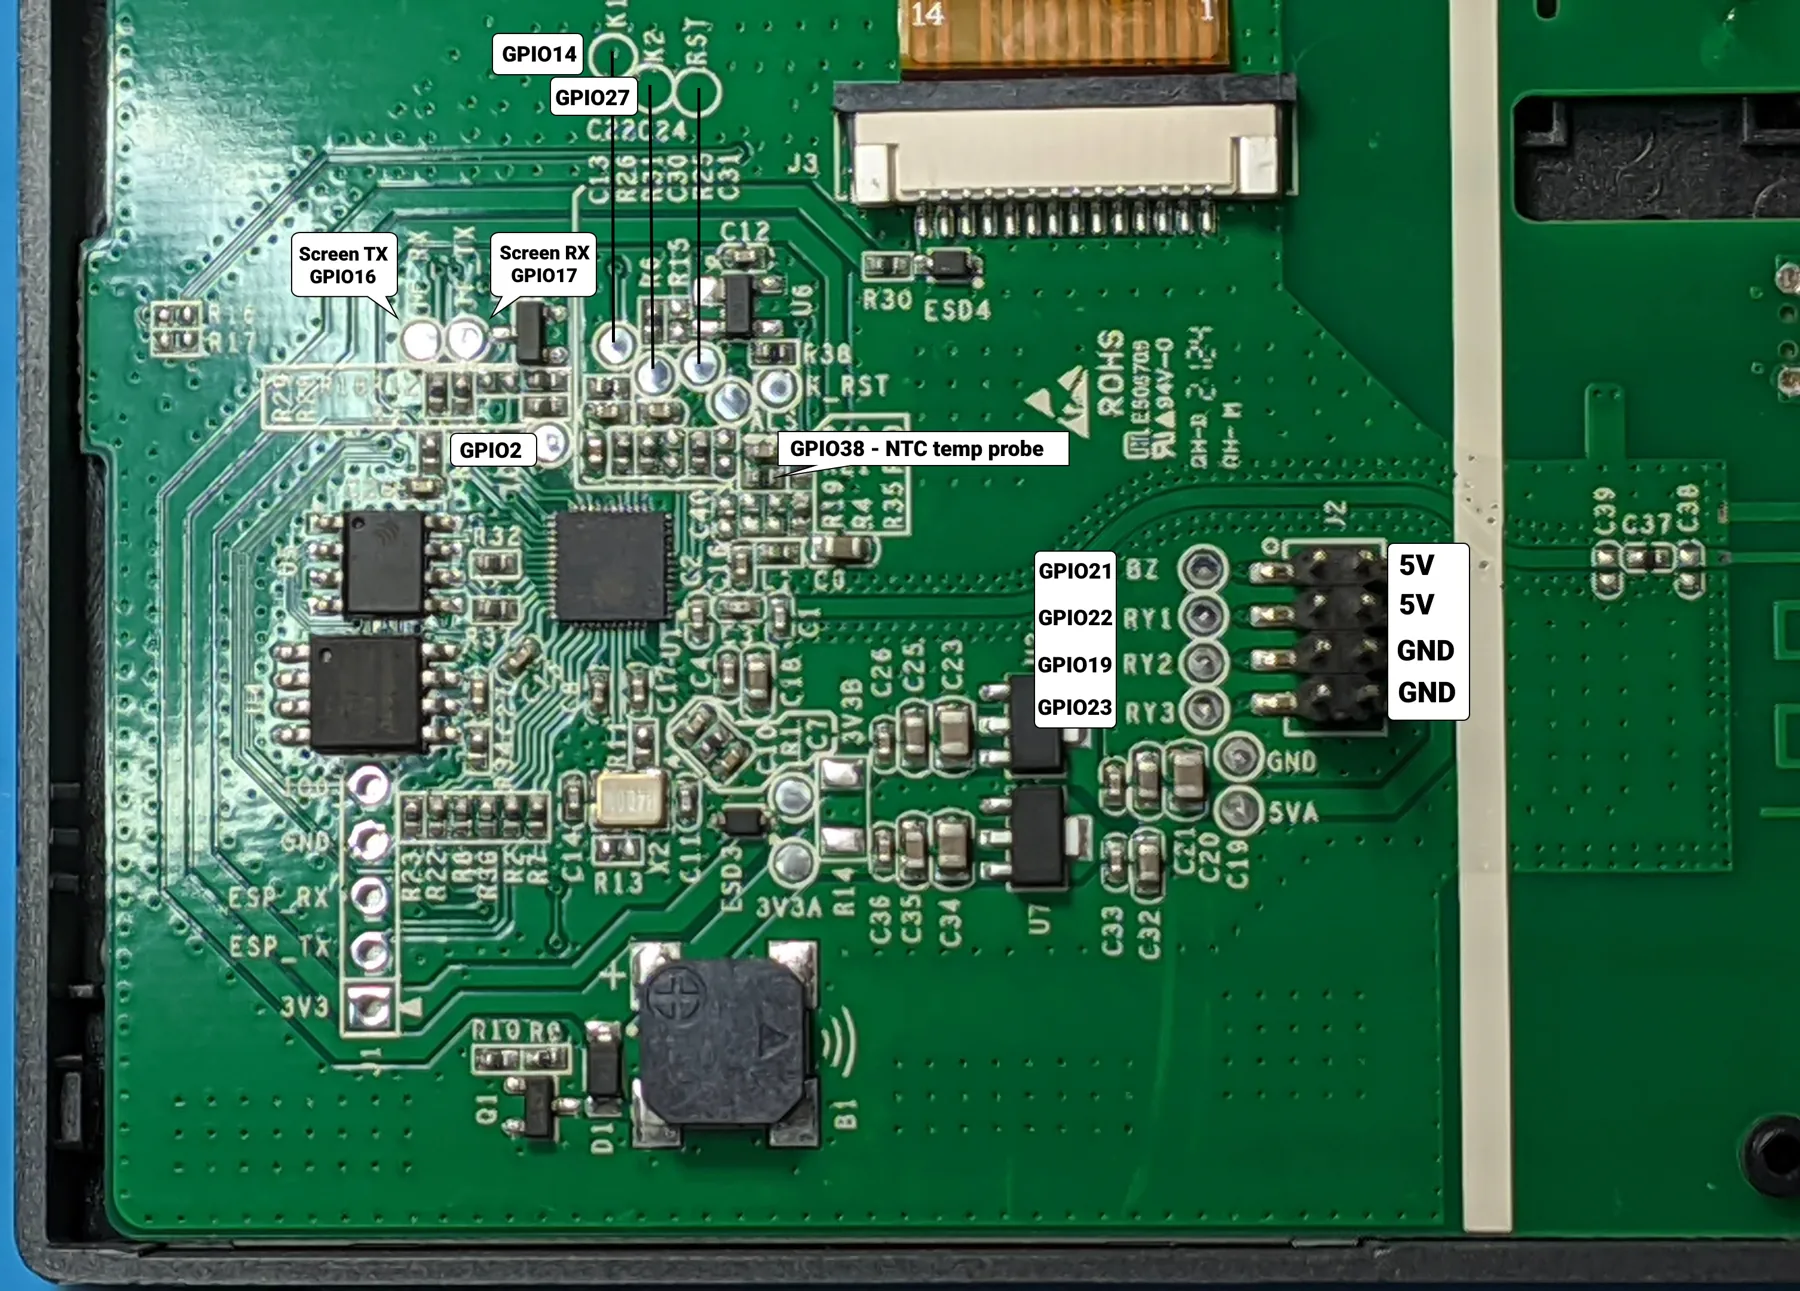
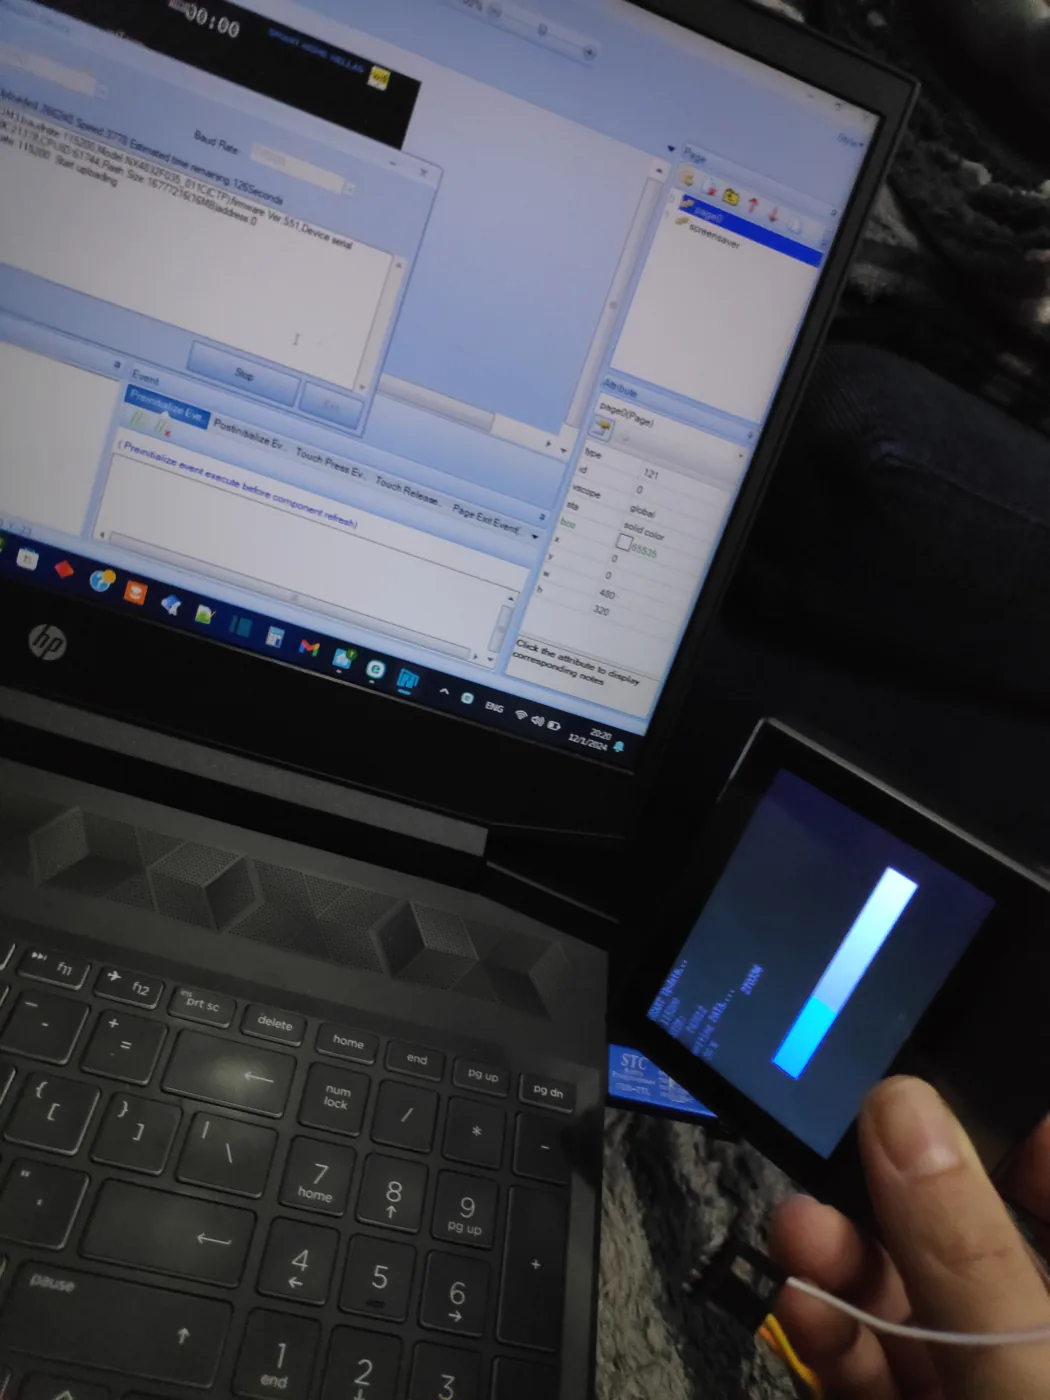
In the ESPHome Dashboard create a new device for NSPanel, select the correct serial port and click Install. The process takes 2–3 minutes.
Home Assistant Setup
After flashing, the NSPanel appears automatically in Home Assistant as an ESPHome device. You have full control:
- The 2 relays as separate on/off entities
- Room temperature from the built-in sensor
- Custom display via ESPHome display components
- Physical buttons as triggers for automations
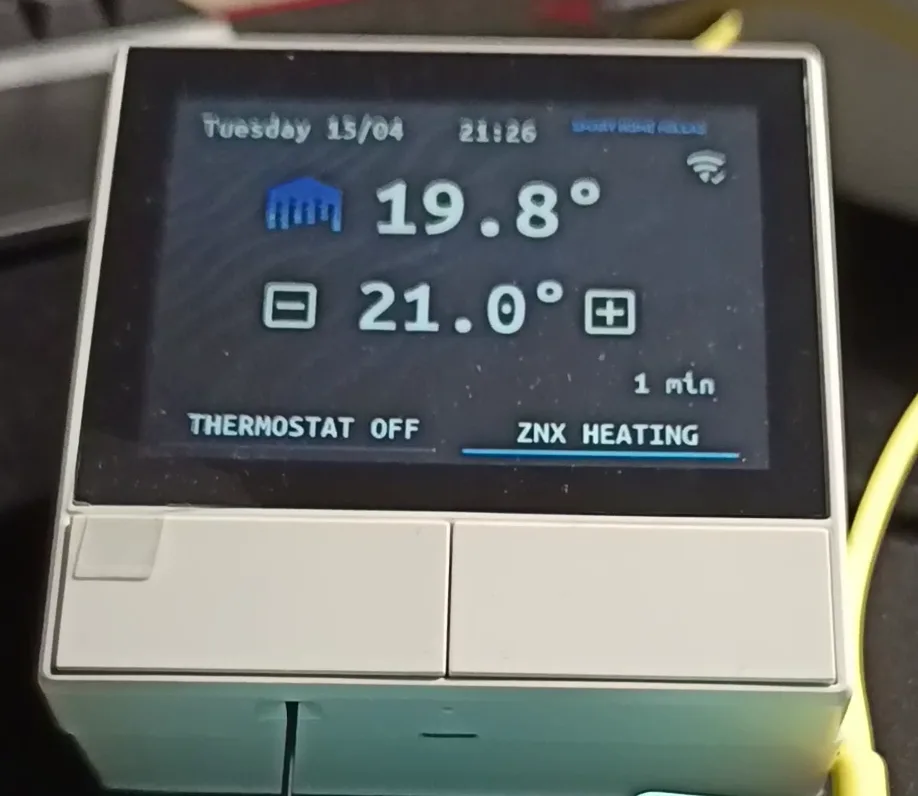
Video guide: Watch the full guide on our YouTube channel.
Watch on YouTube →Conclusion
The NSPanel EU with ESPHome is one of the most impressive upgrades for a smart home. It replaces a simple switch with a full control panel displaying time, temperature and controlling anything you want in Home Assistant.